
Migrate to OCI using Cross-Platform Transport of a PDB Using Inconsistent Backups
Introduction RMAN offers to transfer data between platforms in a multi-tenant setting. You can move an entire multitenant container database (CDB), ... Read More
Learn more about why Eclipsys has been named the 2023 Best Workplaces in Technology and Ontario, Certified as a Great Place to Work in Canada and named Canada’s Top SME Employer!
Learn more!In one of our recent implementations, the customer requirement was to have the Red Hat Linux operating system for Oracle Database Configuration. In January 2023, Oracle-Red Hat announced a multi-stage alliance (https://www.oracle.com/news/announcement/red-hat-and-oracle-expand-collaboration-2023-01-31/) to support Red Hat operating systems to run on Oracle Cloud Infrastructure (OCI) therefore, this implementation was fully supported by both vendors.
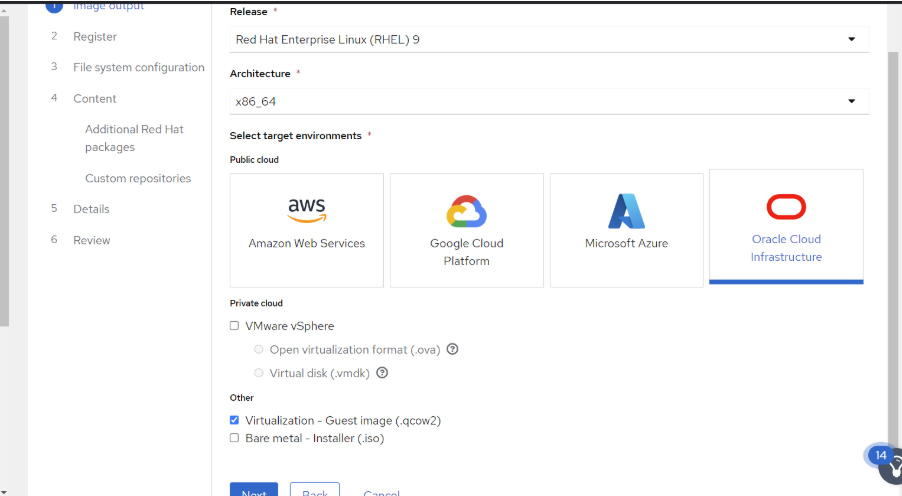
The requirement was to create a Red Hat Enterprise Linux (RHEL) 9 custom image and spin up an OCI compute VM to install and configure the Oracle 19c Database.
First, log in to the tool at console.redhat.com. Once you’ve logged in with your Red Hat Customer Portal account, navigate to Red Hat Enterprise Linux and select Red Hat Insights. You can create customized system images by using Insights image builder and upload those images to Oracle Cloud Infrastructure (OCI). Then, you can run an instance from the. qcow2 image you uploaded to your OCI bucket.
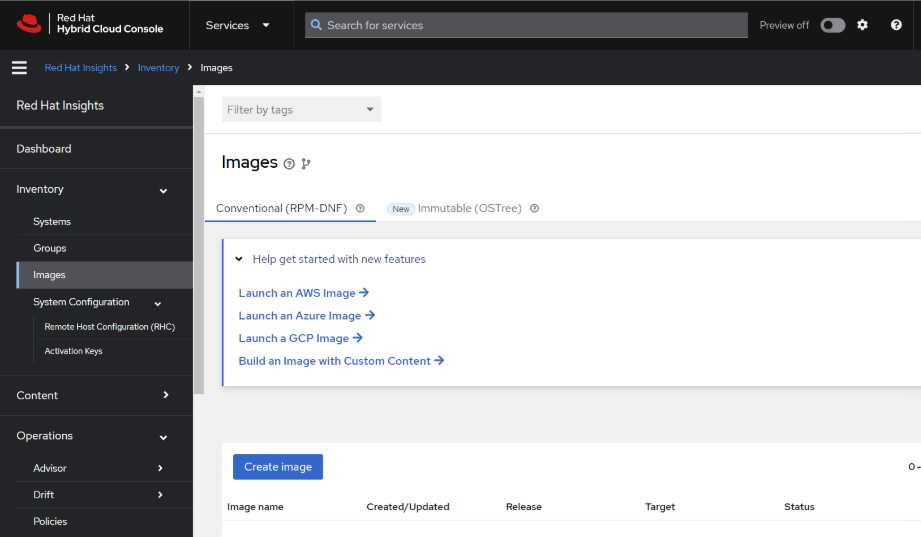
01. Log in to the Hybrid Cloud Console and Click Red Hat Insights > RHEL > Inventory > Images.
02. The Create Image Dialog Wizard opens.
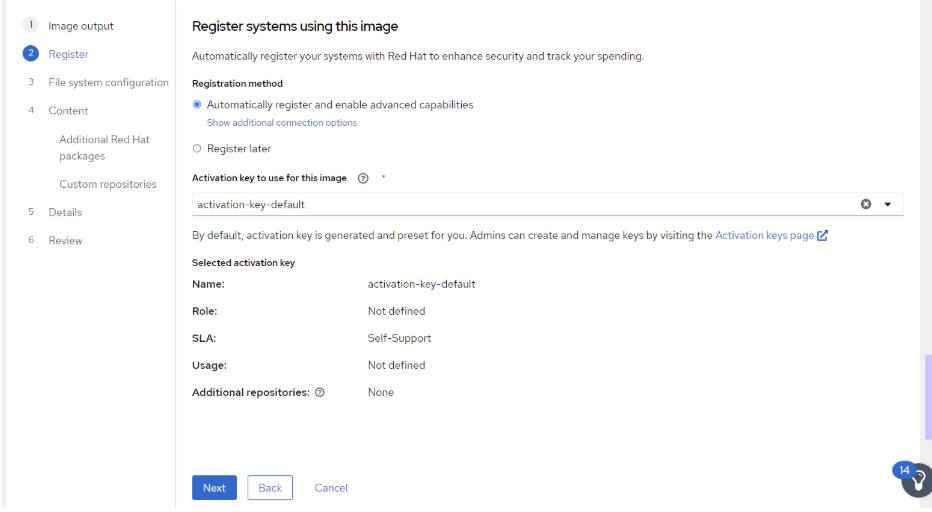
03. On the Register page, select Automatically Register and Enable the Advanced Capabilities option.
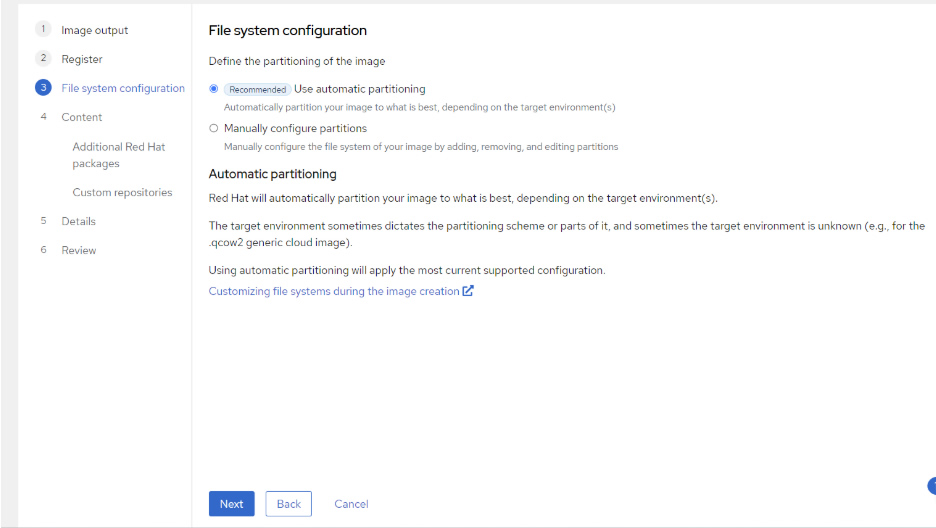
04. On the File System Configuration page, select the recommended Use Automatic Partitioning or Manually Configure Partitions for your image file system.
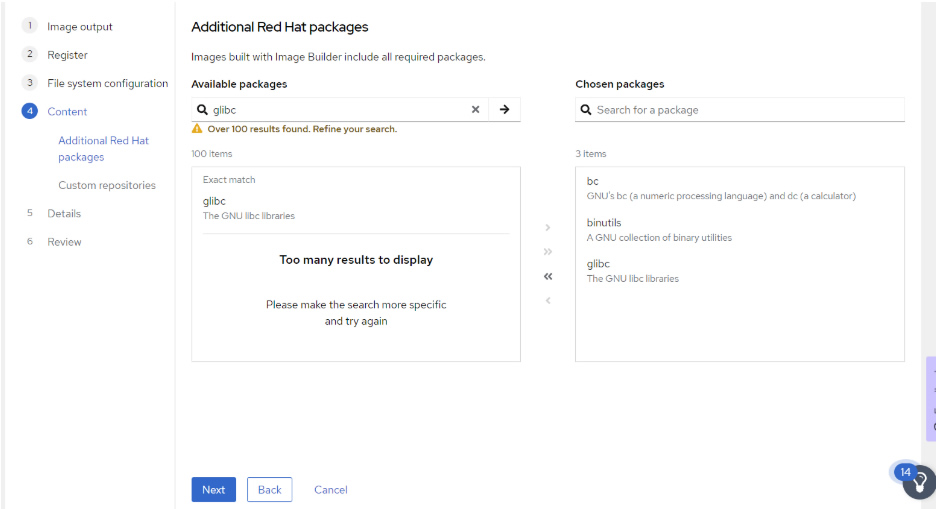
05. Optional: On the Content page, complete the following steps to add additional packages to your image:
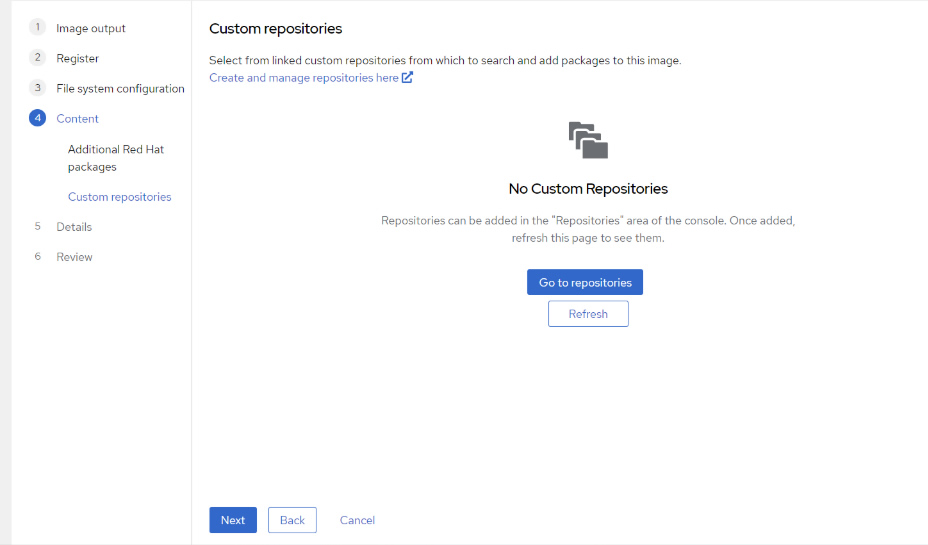
06. Optional. I did not select any Custom Repositories. Click Next.
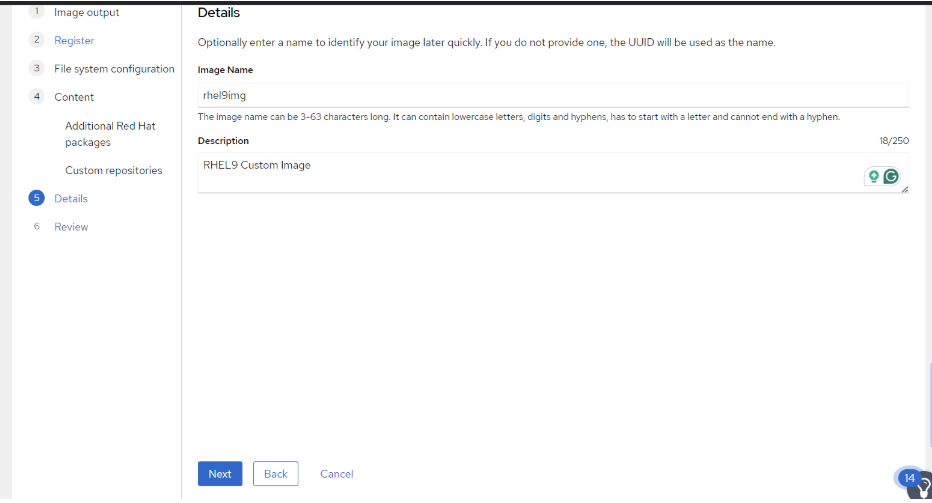
07. Verify details and Click on Create Image.
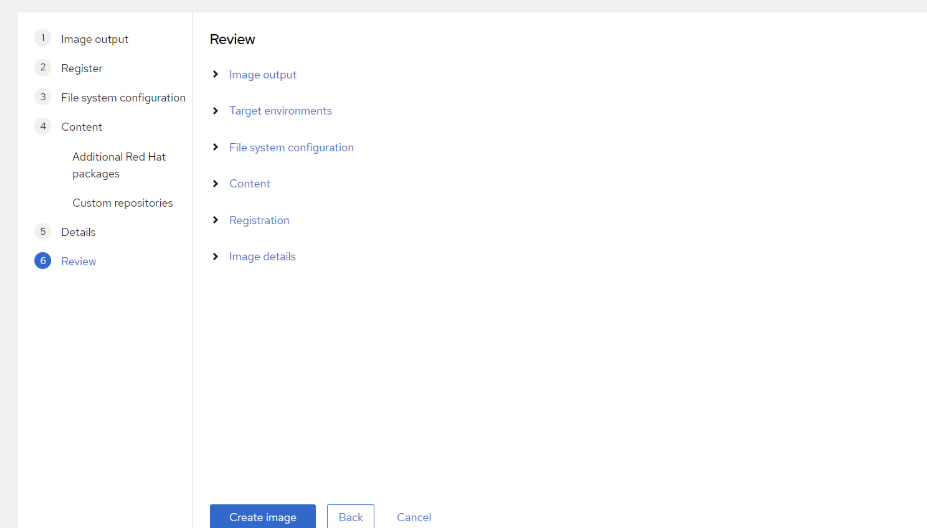
Image build in progress.

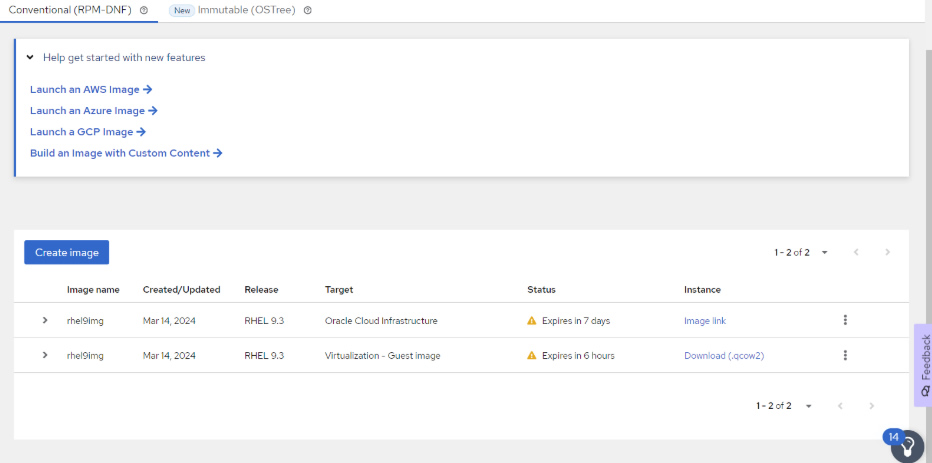
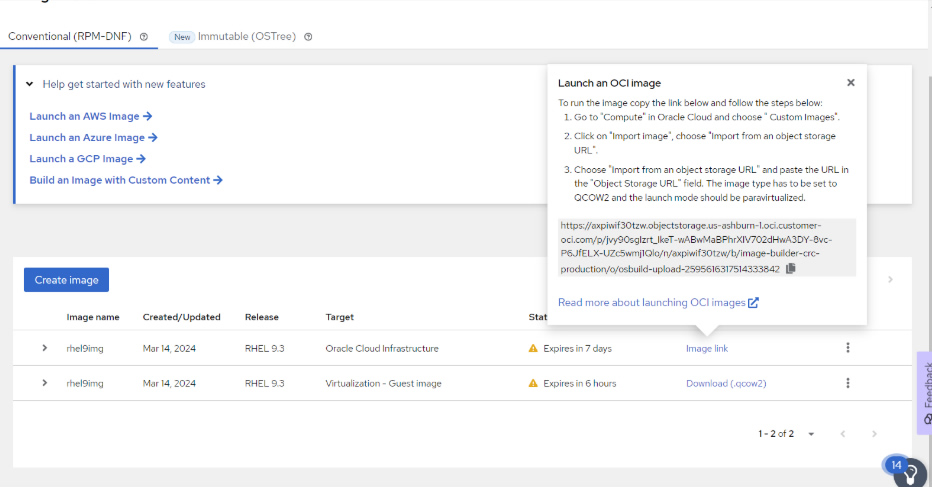
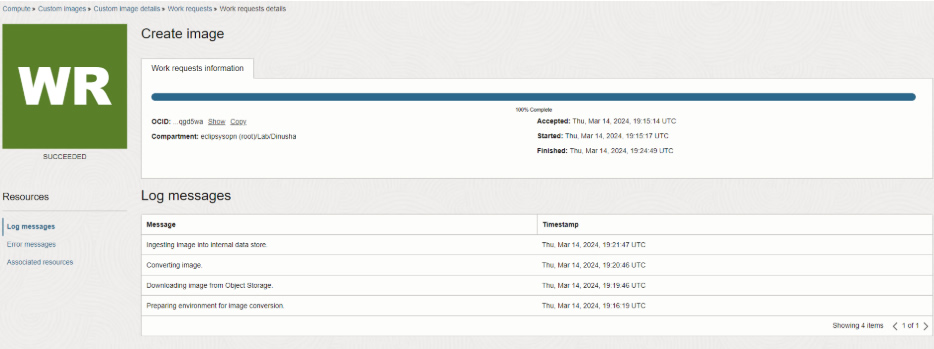
08. Once the image build process is complete, copy the object storage URL.
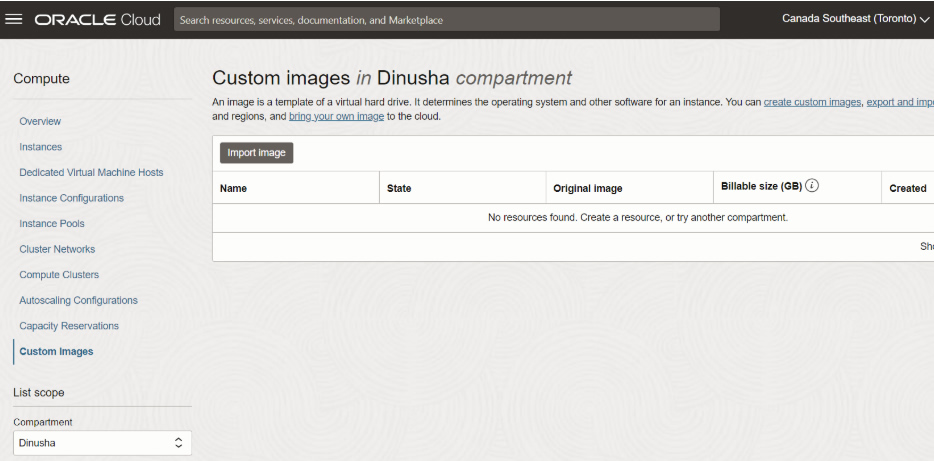
09. Login to the OCI console and navigate to the Compute -> Custom Images. Click on the Import Image.
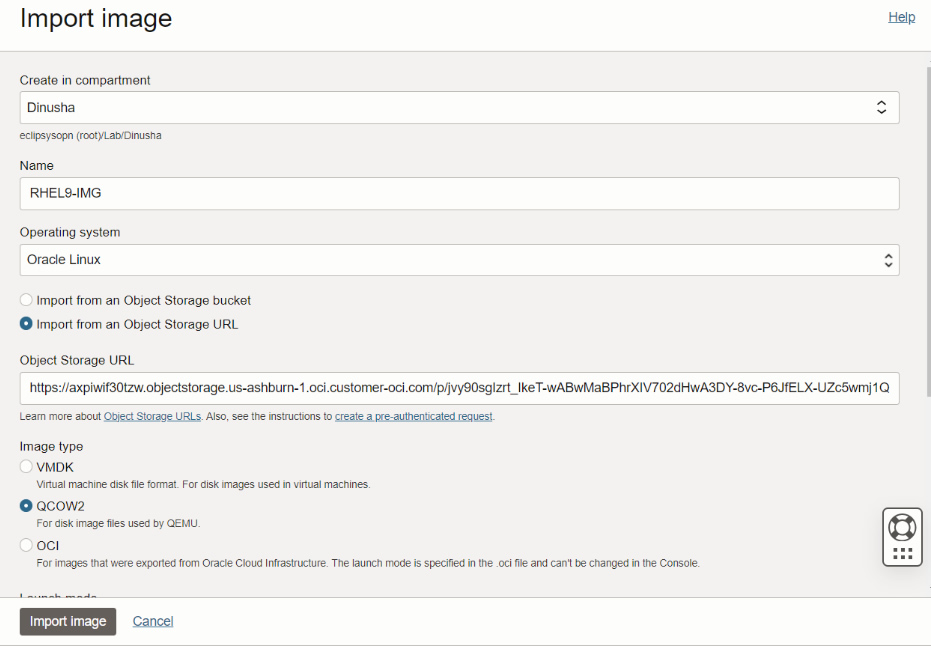
10. Select Import from an Object Storage URL. Enter the previously copied URL. Select QCOW2 format and click Import image.
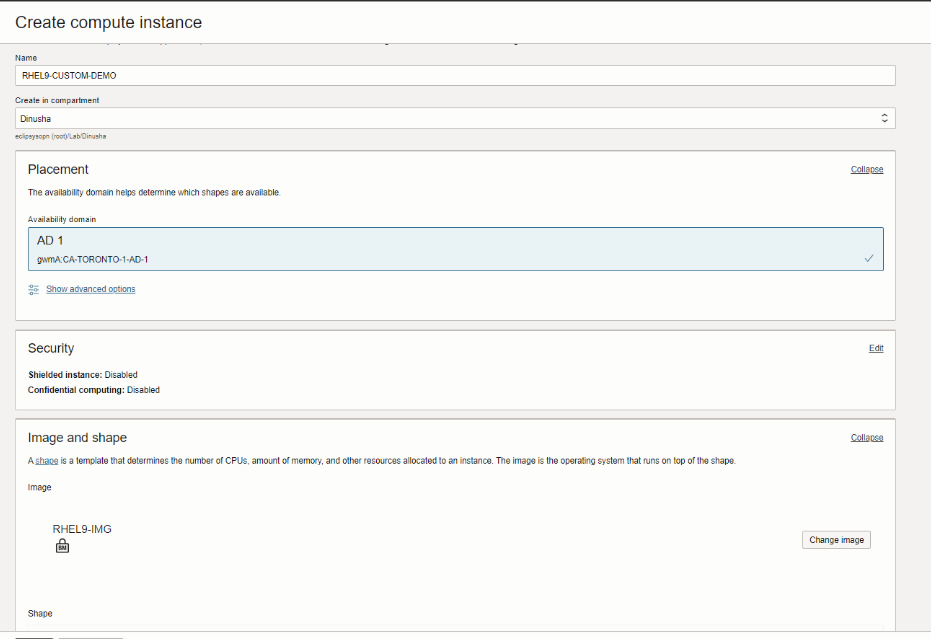
11. Once the Custom Image is created, create a compute instance using the same.
12. Update the mandatory fields to complete the process.
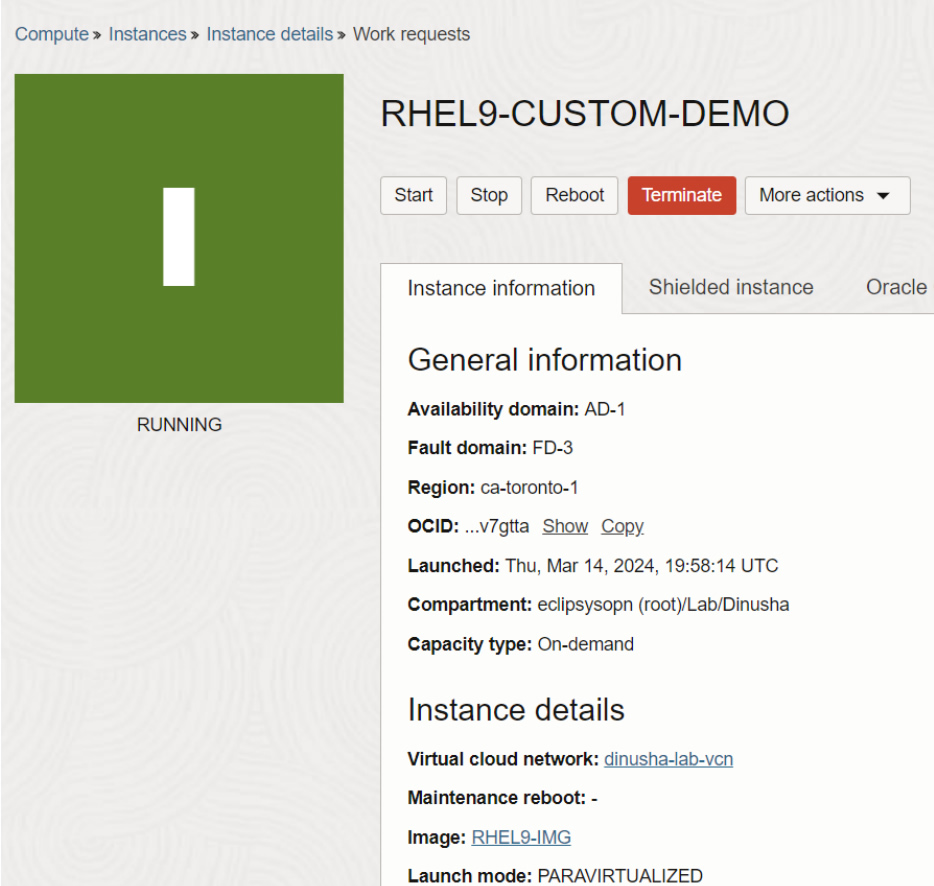
13. After a few minutes, you may see the custom compute VM is up and running.
14. Login to the RHEL 9 server by using a cloud-user user account and the provided SSH key.
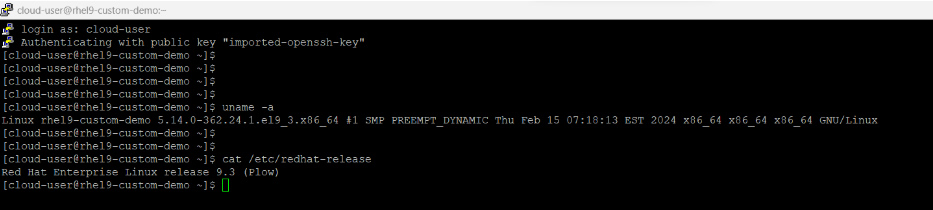
This concludes the implementation.
Introduction RMAN offers to transfer data between platforms in a multi-tenant setting. You can move an entire multitenant container database (CDB), ... Read More

Backup Oracle Database to OCI Object Storage using Bck2Cloud – “1-Button” Cloud Backup/Restore Automation Utility This is a quick ... Read More