Oracle EBS R12.2.x Instance on VirtualBox
For a long time, Applications DBAs have been asking Oracle for an EBS appliance to use for testing purposes. Oracle EBS files installation media is ... Read More
Learn more about why Eclipsys has been named the 2023 Best Workplaces in Technology and Ontario, Certified as a Great Place to Work in Canada and named Canada’s Top SME Employer!
Learn more!The time to look at migrating your E-Business Suite installation to the cloud is now. EBS 12.1 will be out of support by the end of 2021 and businesses are looking for new solutions. Oracle has made it easy to take a test drive of R12.2.9 with its Vision demo. One option is to download the demo and install, import and configure it on a VirtualBox. This option would take about one day. Even faster though is to configure R12.2.9 on Oracle Cloud – this can be achieved in only one HOUR.
This speedy alternative offered by Oracle will allow you to not only test drive 12.2.9 but also provide you with hands-on experience with EBS on Oracle Cloud. Technically, in one hour, you will be all set with Oracle EBS R12.2.9. https://www.oracle.com/ca-en/cloud/free/
Everything should start with a subscription to a free cloud account.
It takes 15 minutes and a credit card to get to Oracle Cloud.
Do not worry, Oracle uses the credit card as proof that you’re are a person. Oracle will send you the Tenancy link with a password to access your cloud. Since the move to the Cloud became so popular, Oracle Corporation made available for test a very long list of products.
The EBS Vision Demo on Cloud is at:
https://blogs.oracle.com/ebsandoraclecloud/ebs-1229-demo-install-image-now-available
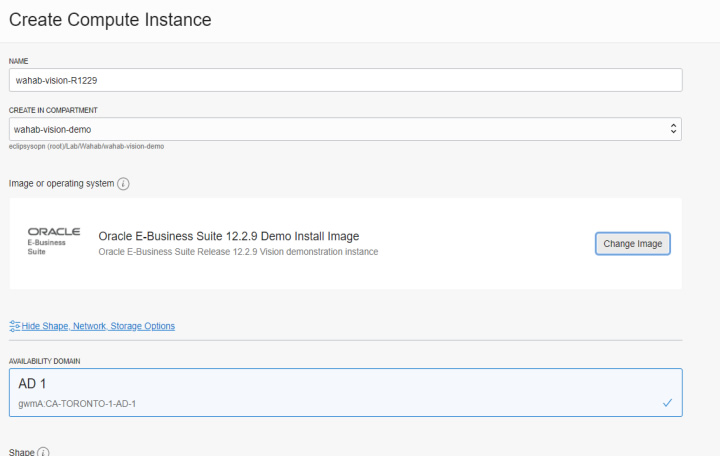
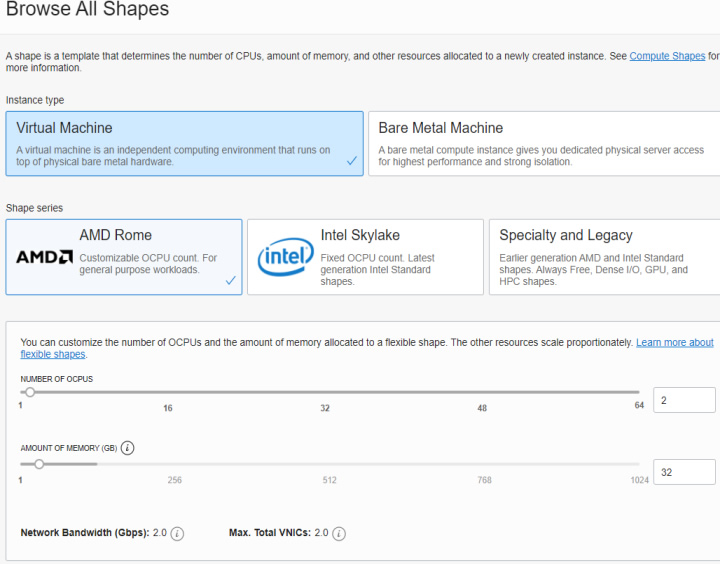
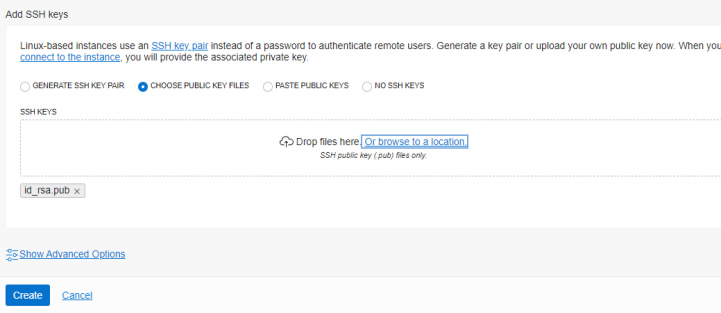
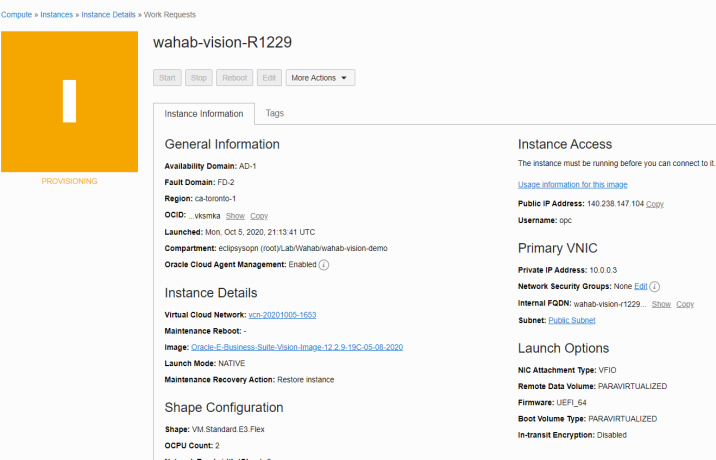
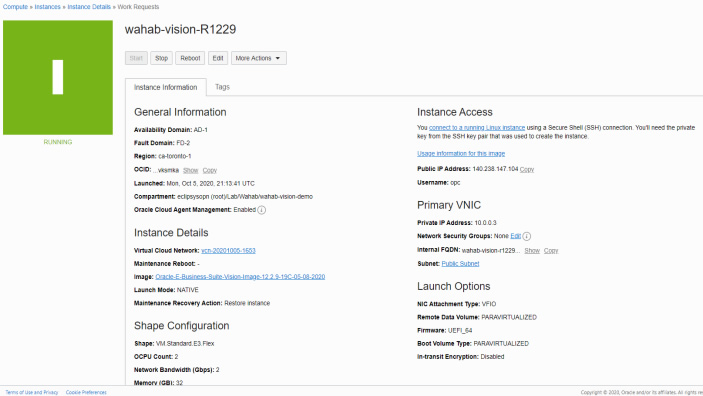
After registration and access testing you have to complete the following steps to get you running EBS on the cloud:
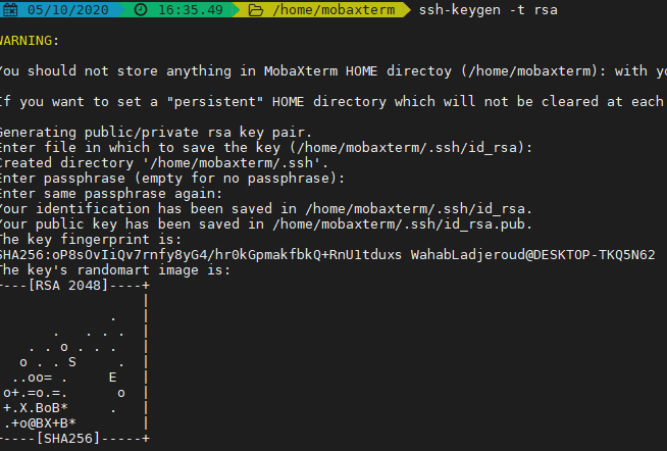
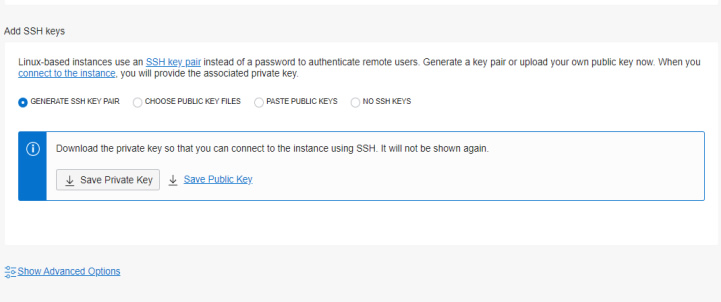
Do not forget to issue the command on the private key.
$ chmod 400 id_rsa
No one else can access it.

hostname
ls /u01/install/APPS
./u01/install/APPS/updatehosts.sh
hostname
hostname apps.example.com
(apps.example.com being the hostname name with domain name)
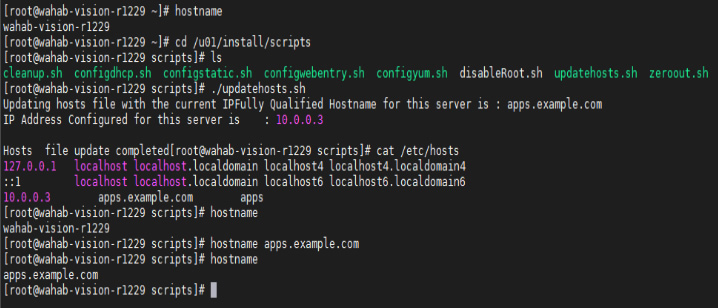
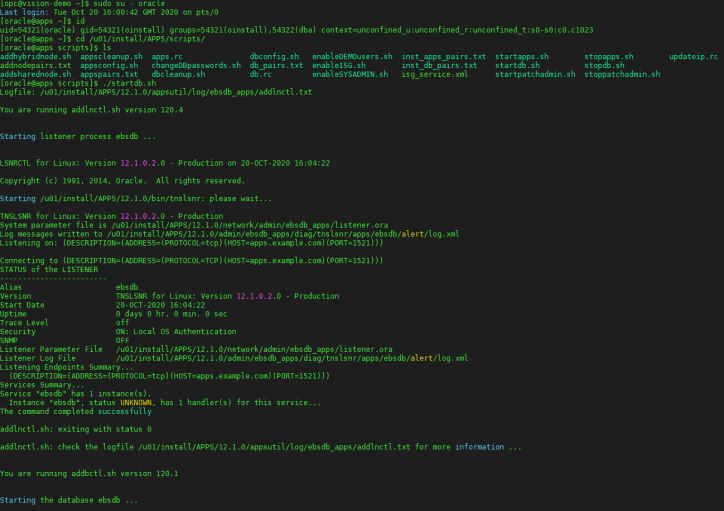
3-1 Starting up the EBS Vision Demo
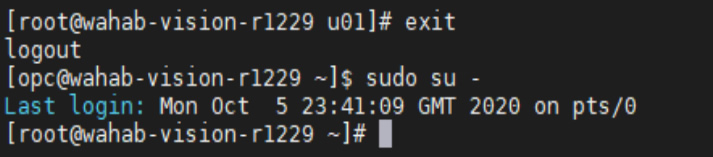
While connected as the oracle user change directory to /u01/install/APPS/scripts
to start the database and applications: sh startdb.sh
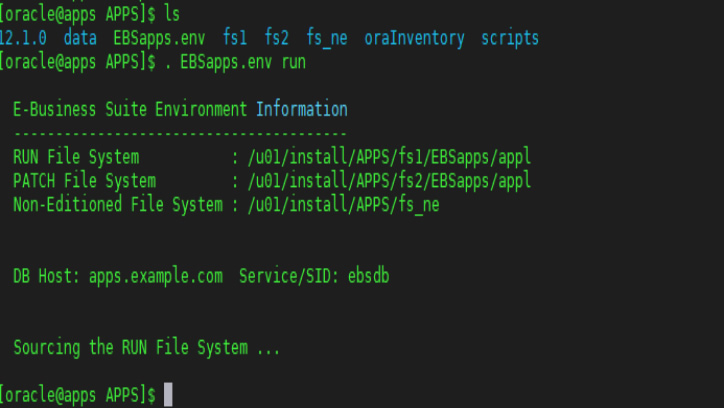
cd /u01/install/APPS and setup Application environment (see below):
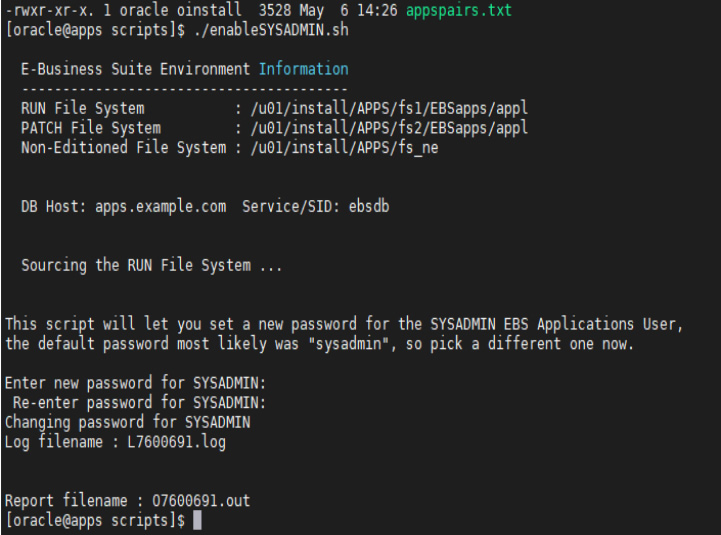
The Sysadmin has to have its password set:
sh /u01/install/APPS/scripts/enableSysAdmin.sh
You can do the same with the demo users:
sh /u01/install/APPS/scripts/enableDemo.sh
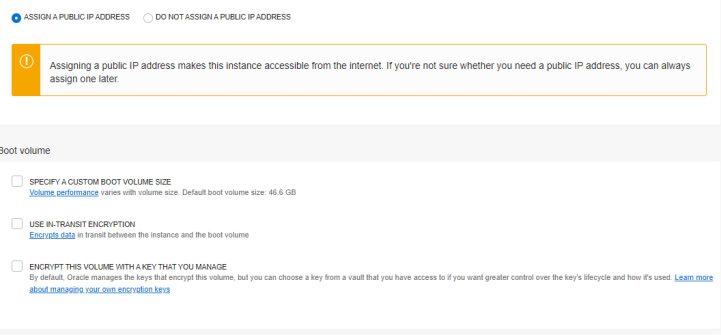
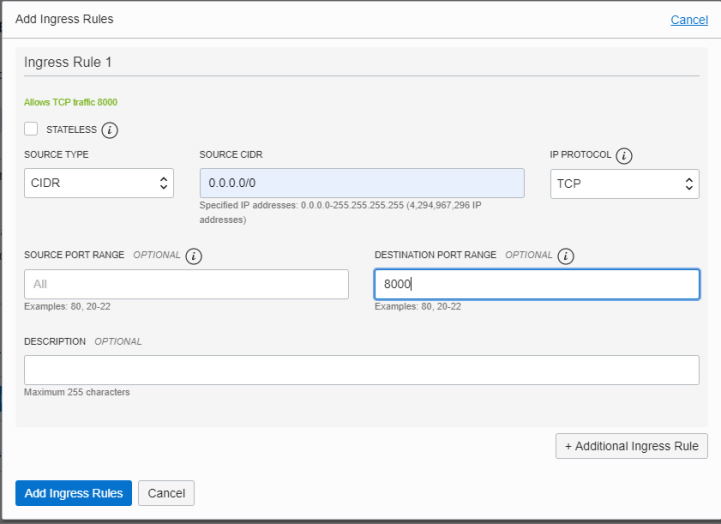
This EBS Vision Demo will be accessed from the internet and we have to do a final step to allow a specific port to be opened in the cloud firewall. You may use an IPSEC or FastConnect based VPN to limit client access.
Usually, the port is 8000.
Complete the following steps to open this port:
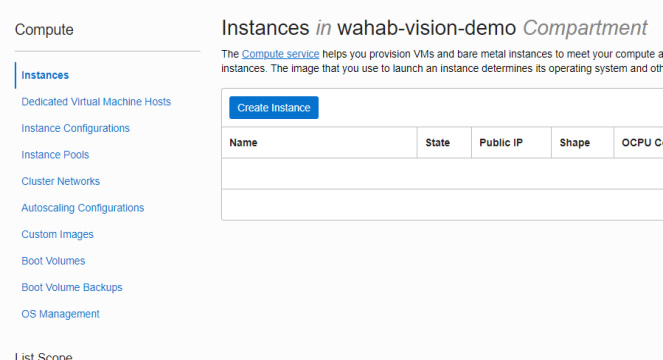
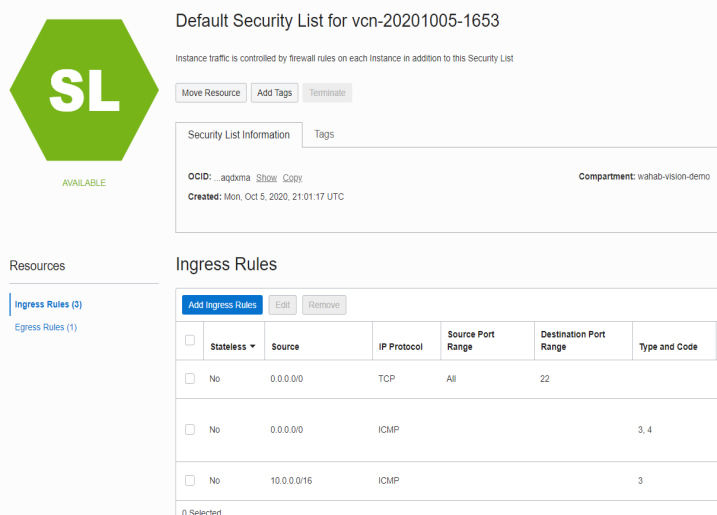
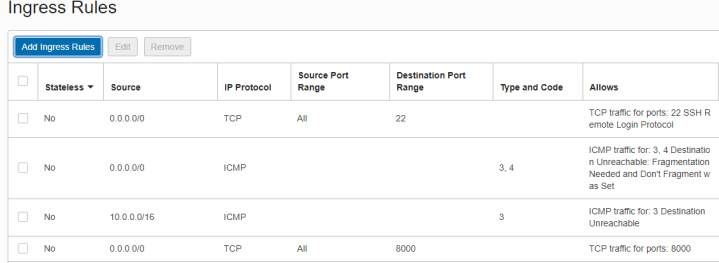
We have to configure an Ingress rule for this port to be open to the users.
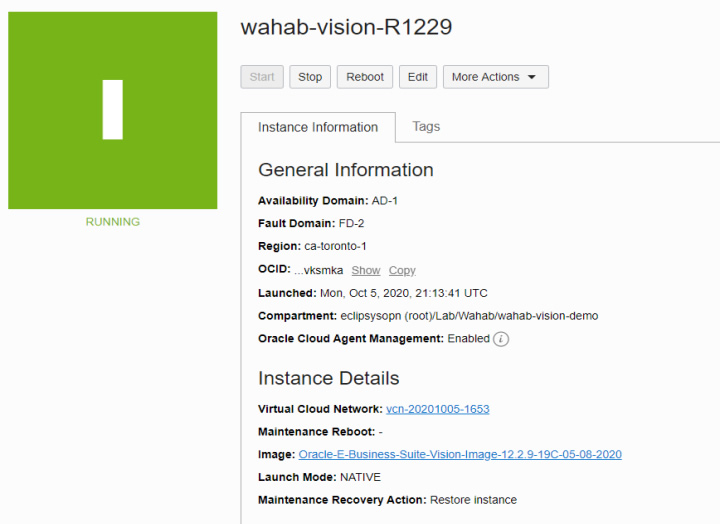
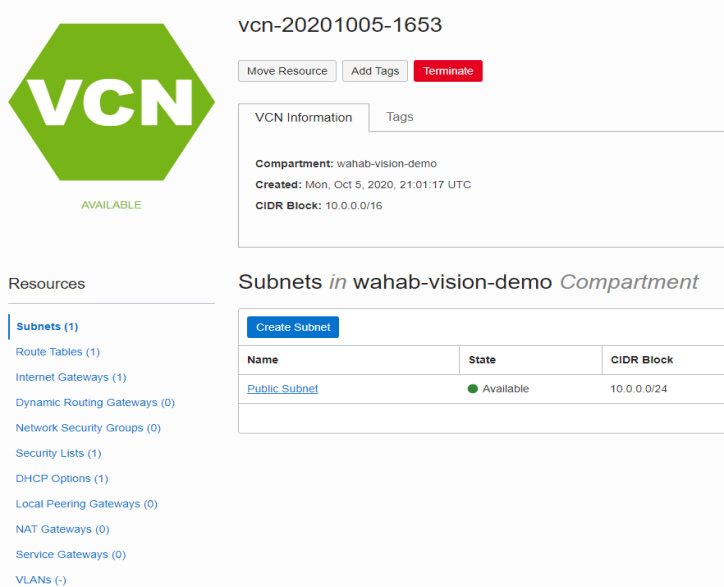
From the compute instance, locate the VCN (virtual cloud network)
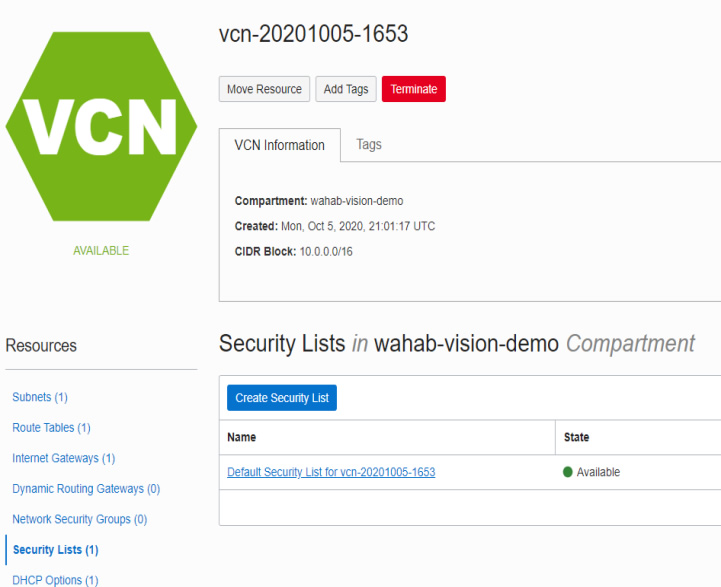
Navigate to Networking — Virtual Cloud Networks — Click on VCN — click Security Lists — Add Ingress Rules — Provide CIDR, Port 8000
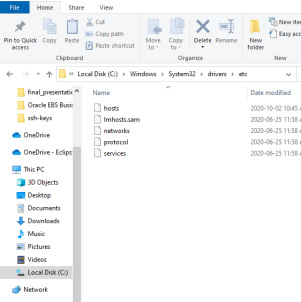
To access your Demo from your laptop, you will have to complete a final step:
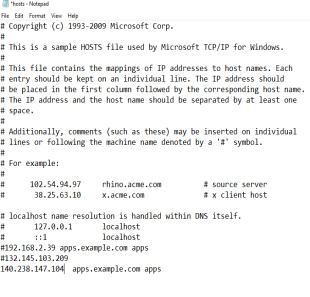
Update the local host’s file on Windows
Edit the host’s file.
140.xxx.xxx.xxx apps.example.com apps
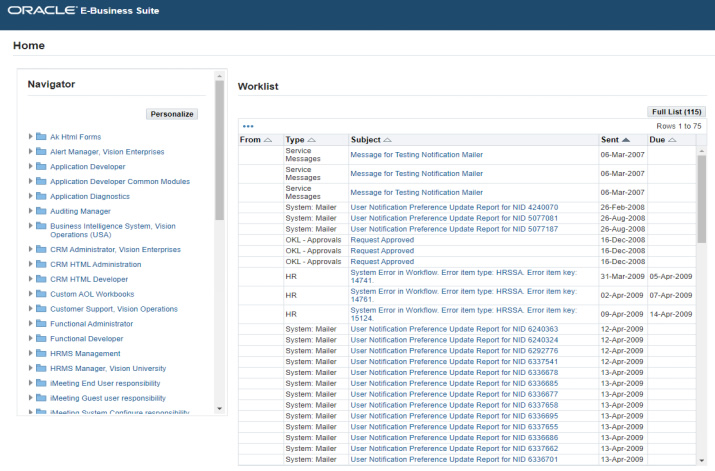
Start the Services now using Oracle provided scripts, startdb.sh and startapps.sh. I have also run the SYSADMIN.sh script to enable and reset the SYSADMIN user.


You are all set:
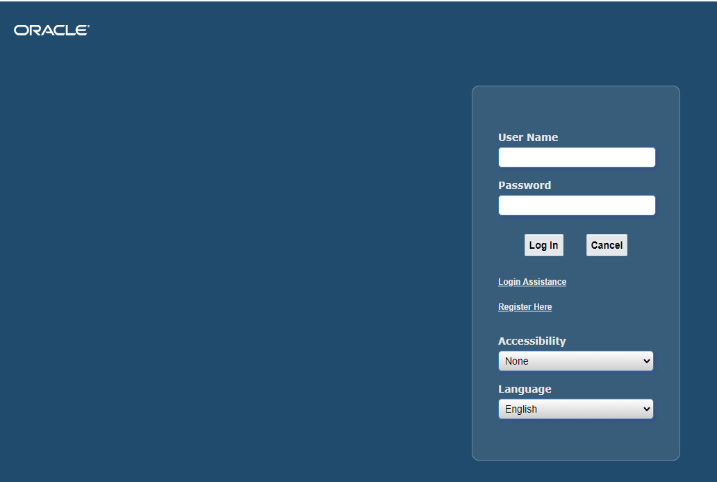
You can now access the applications using
https://<hostname>:8000/OA_HTML/AppsLogin.
http://apps.example.com:8000/OA_HTML/AppsLogin
With only these 6 simple steps you are now cloud-ready (hopefully in under an hour)!
For a long time, Applications DBAs have been asking Oracle for an EBS appliance to use for testing purposes. Oracle EBS files installation media is ... Read More