OCI FortiGate HA Cluster – Reference Architecture: Code Review and Fixes
Introduction OCI Quick Start repositories on GitHub are collections of Terraform scripts and configurations provided by Oracle. These repositories ... Read More
Learn more about why Eclipsys has been named the 2023 Best Workplaces in Technology and Ontario, Certified as a Great Place to Work in Canada and named Canada’s Top SME Employer!
Learn more!I recently had a weekly digest from the Medium website and noticed a blog post talking about configuring OCI in 5 minutes. The funny thing is that you had to pay a subscription to read about what Oracle documented for free. I don’t know how Search Engine Optimization (SEO) works but I thought I would use the same title in case people wanted to get access to a comparable tutorial for free. And since my next articles will depend on OCI-CLI, I might a well do it for me.
Context: This is the first article in a series of 4.
They are aimed to prepare learners for quick hands-on experiences on OCI.
Requirement
I have done the installation on windows 10 but the basic install will always require 3 elements:
Windows
Run the following in Powershell as administrator:
PS C:\Users\BrokDB> Set-ExecutionPolicy RemoteSigned
PS C:\Users\BrokDB> powershell -NoProfile -ExecutionPolicy Bypass -Command "iex ((New-Object System.Net.WebClient).DownloadString('https://raw.githubusercontent.com/oracle/oci-cli/master/scripts/install/install.ps1'))"
You are prompted to provide installation locations. The script will install Python 3.5 for you.
This will allow you to have a Linux like bash environment were to run oci-cli from. Very straight forward installation but you can check this install-guide for details.
You would have to run the bellow in a terminal session:
[root]# bash -c "$(curl -L https://raw.githubusercontent.com/oracle/oci-cli/master/scripts/install/install.sh)"
On Linux, the install script will install python 3.5 for you. However, it won’t be the case for Mac OS as you’d have to install a compatible python version before installing oci-cli.
Once your free account is created and Git Bash installed proceed with the below CLI Setup tasks:
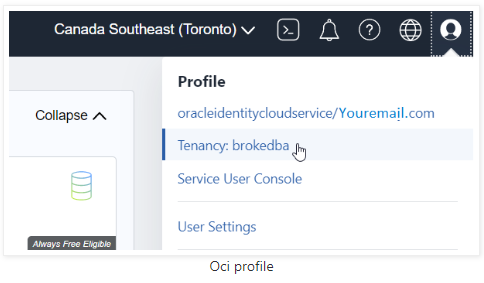
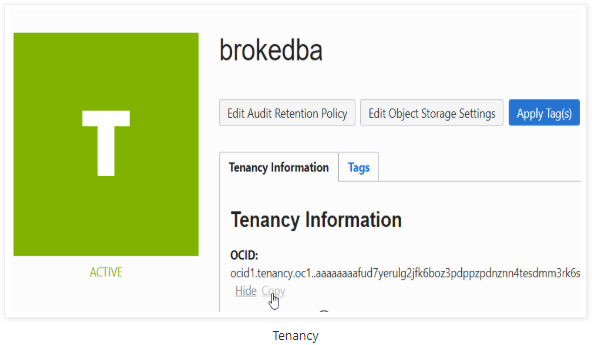
> Click copy under the tenancy information’s OCID field. Save in your notepad.
The API key is the last information you will need and no you don’t need to create ssh key pair to interact with your oci account so I won’t include it here.
Run below commands from the Git-Bash terminal in any folder you like:
Private pem key
brokedba@ MINGW64> cd ~/.oci
$ openssl genrsa -out .oci/oci_api_key.pem 2048
 Generating RSA private key, 2048 bit long modulus (2 primes)
Public pem key
$ openssl rsa -pubout -in .oci/oci_api_key.pem -out .oci/oci_api_key_public.pem
Fingerprint
$ openssl rsa -in .oci/oci_api_key.pem -pubout -outform DER | openssl md5 -c | awk -F= '{gsub(" ","",$2);print $2}' > .oci/oci_api_key_fingerprint
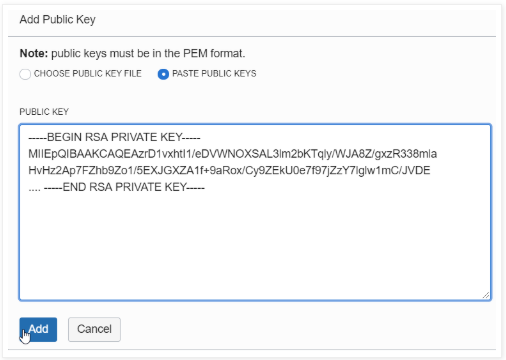
Copy the content of the public key and add an API key in the oci Console.
$ cat oci_api_key_public.pem | pbcopy
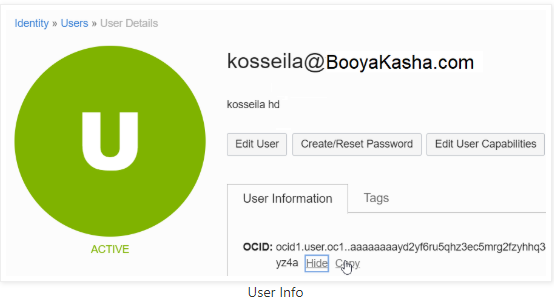
Sign in in to the Cloud Console and Go to Menu -> Identity -> Users -> API Keys -> Add Public Key
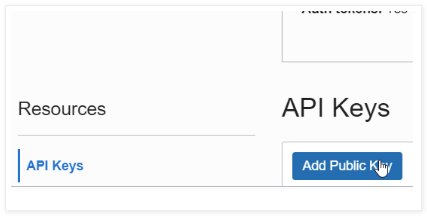
> Copy the content of the pem public key and click Add.
Now that you have all the files along with the tenancy info gathered in your notepad (i.e: TenInfo.txt),
you can finally configure your oci-cli. To do so run the following:
$ oci -v
 2.10.0
$ oci setup config
Enter a location for your config [/c/Users/brokedba/.oci/config]: Enter a user OCID: # paste your User OCID Enter a tenancy OCID: # paste your tenancy OCID Enter a region : # choose the one defined in your tennacy (Webconsole)
 Do you want to generate a new API Signing RSA key pair?
[Y/n]: n
Enter the location of your API Signing private key file: /c/Users/brokedba/.oci/oci_api_key.pem
Fingerprint: xxxxxxxxxxxxxxxxxxxxxxxxxxxxxxxxxxxxxxx
Config written to /c/Users/brokedba/.oci/config
Important: Avoid folder Names that have spaces, Python hates it. Just keep the default directory “C:\Users\MyUser”.
Below is the final content of the config file needed upon each API request:
$ cat /c/Users/brokedba/.oci/config
[DEFAULT]
user=ocid1.user.oc1..aaaaaaaayd2yf6ru5xxxxxxxxxx fingerprint=bf:3b:2e:48:a2:98:xx:xx:xx:xx:xx:xx:xx key_file=C:\Users\brokedba\.oci\oci_api_key.pem tenancy=ocid1.tenancy.oc1..aaaaaaxxxx region=ca-toronto-1
What you can do if it’s just a free tier account and you want to practice real quick with oci-cli is to:
export T="ocid1.tenancy.oc1.xxxx"
export U="ocid1.user.oc1..xxx"
export C="ocid1.tenancy.oc1..xxx"
$ oci setup oci-cli-rc
# adds parameters such as command aliases and predefined queries
$ export OCI_CLI_SUPPRESS_FILE_PERMISSIONS_WARNING=True
Now go and run your first list request to get the default availability domain in your tenancy:
$ oci iam availability-domain list
{ "data": [
    { "compartment-id": "ocid1.tenancy.oc1..axxxxx",
    "id": "ocid1.availabilitydomain.oc1..aaaaaaaawshktv3wktr5rplplpshn5vsugutbhi",
    "name": "BahF:CA-TORONTO-1-AD-1"
    }
   ]
 }
If you don’t like the Json output you can always go for a table layout:
oci iam availability-domain list --output table
+-----------------------------+------------------+------------------------+
|   compartment-id            |    id            |  name                  |
+-----------------------------+------------------+------------------------+
| ocid1.tenancy.oc1..aaaa5g4a | ocid1.availabili | BahF:CA-TORONTO-1-AD-1 |
+-----------------------------+------------------+------------------------+
I think I said 5 minutes which was a bit optimistic but you got the idea ;), and that’s what you’ll remember. Feel free to consult the OCI CLI Command Reference for more request examples.
Introduction OCI Quick Start repositories on GitHub are collections of Terraform scripts and configurations provided by Oracle. These repositories ... Read More

Introduction So far, I have used Oracle AutoUpgrade, many times in 3 different OS’. Yet the more you think you’ve seen it all and reached the ... Read More